Sweet and Elevated: How To Make Your Own Edible Gummies
- Making your own edible gummies from scratch requires some tricky math, so we’re making it easier for you with our store-bought oil edibles dosing calculator.
- It might seem intimidating to make your own edible gummies at home, but you’ll be amazed at how simple it really is.
- With our calculator and the right ingredients, you’ll never want to buy gummies again.
10-minute read
Our Automatic Edibles Calculators
Automatic Edibles Calculator for Store Bought Cannabis Oil
The Sweet and the Sticky of Making Edible Gummies at Home
Edibles are a wonderfully flexible way to experience the benefits of cannabis. From brownies to beverages, there’s no shortage of ways to elevate your cannabis through culinary creations. Here at House of Puff, we have a soft spot for cannabis-infused gummies! And, we’re not alone. Gummies have become a nationwide favorite—flying off dispensary shelves faster than any other edible. And what’s not to like? If they’re done right, they’re a great little sweet treat and the perfect way to introduce the plant to cannabis curious friends.
Why Make Your Own Edible Gummies?
Low-dose gummies are perfect for entertaining. They look gorgeous on a platter or in a bowl served up like petit fours. But they also tend to be one of the most expensive forms of cannabis. Making your own edibles at home is way more cost-effective than buying them from a dispensary—especially if you’re planning to serve them to a big group. (Check out our tips for elegantly serving gummies.) Homemade edible gummies also give you the freedom to customize flavors and potencies. Plus, they let you control the quality of the ingredients.
Homemade Edible Gummies are Deliciously Easy to Make
Making your own cannabis gummies at home can seem daunting. So, you might be surprised to learn they’re actually incredibly easy to make. With the right ingredients, all it takes is a quick 20 minutes to whip up some irresistible treats. Our gummies have the perfect texture and not a hint of weed taste. Before online shopping, it might’ve been nearly impossible for most of us to make good gummies at home. But now, making delicious, edible gummies is easier than ever! You won’t believe how simple it is once you have the right ingredients and follow a few key techniques. In fact, after trying this recipe, you might never want to buy gummies again!
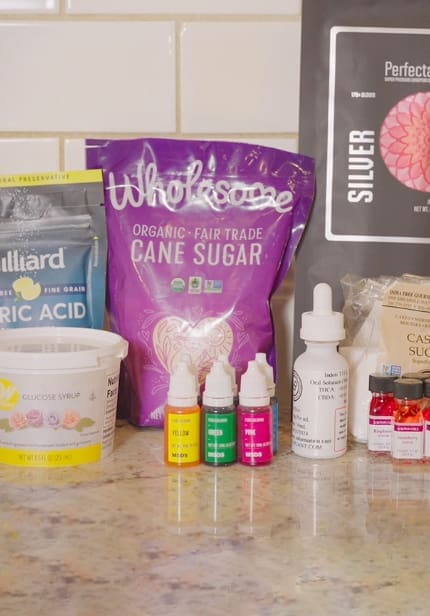
What You Need to Make Edible Gummies at Home
First, plan ahead—because you’re definitely gonna need to do some online ordering. Here’s what you’ll need: silicone molds, silicone spatula, kitchen scale (preferably metal so you can weigh a hot pan right on it), food processor or a dry blender, candy thermometer, scissors, heavy small-to-medium saucepan, chef’s squeeze bottle, wax paper, and mixing bowls. Other than the food processor, you can buy each of these items for $10 or less. And, if you don’t have a food processor or a dry blender, you can also do it by hand.
The Unusual Suspects
But don’t get off the internet yet—because you’ll also need some ingredients that you won’t find at the grocery store. The unusual ones include: silver grade sheet gelatin, glucose, citric acid, and aroma extract. Plus, you’ll need to hit the dispensary for some concentrated cannabis oil. In addition, you’ll need granulated sugar, food coloring, water, and, for the final touch, we recommend caster sugar—that’s just superfine granulated sugar.
Set Yourself Up For Success
Prepping ahead paves the way to sweet success! Trust us, having the right ingredients and tools will transform your gummy-making journey into a piece of cake. Even more than baking, candy-making takes very precise measurements. So, we’ve given them to you mainly in grams. Here’s a pro tip—place a wax paper on your scale and gently spoon or pour the ingredients onto it till you reach the exact measurement. Also, the size of your saucepan will be determined by the size of your batch. Use a small saucepan and just 1 squeeze bottle if you only want to make a few gummies. For large batches in different flavors and colors, use a larger pan and a different squeeze bottle for each.
Step 1: Prep the Gelatin for Your Edible Gummies
Sheet gelatin comes in different bloom strengths. The higher the strength, the stiffer your gummies will be. To achieve our preferred texture—not too jammy, but not super chewy—we use silver grade gelatin. But you can play around to find which strength you prefer. For this recipe, disregard the blooming instructions on the package and follow ours instead.
Tips for Prepping Your Gelatin
For springy gummies, the key is keeping the water to a minimum. Grind up the sheet gelatin first so that it “blooms” (that means it’s hydrated) with as little water as possible. First, cut it up into smaller pieces with scissors so it fits in your food processor (about 2” wide sections). Then, grind the gelatin up until it’s cut up into small pieces. If you don’t have a food processor or a dry blender, you can also do all the cutting with just scissors. Shoot for pieces that are about a ½” square or smaller. But no need to get maniacal about the size. If you have a few pieces that are larger, no big deal.
Step 2: Simmer Your Sugar
Add the granulated sugar and 1 ounce of water to your saucepan. Give it a quick stir to combine them. Next, clip your candy thermometer onto the pan’s edge and set the burner to medium high heat. The thermometer is crucial for developing the right texture of gummies. Let the sugar simmer, stirring as little as possible, until it hits 115-120 degrees Celsius or 240-250 degrees Fahrenheit. It should only take a few minutes, so watch carefully. Also, you’ll want to stir as little as possible to keep the amount of water as close to what you used in the first place. Pro tip: avoid touching the candy thermometer once the burner is on. It gets super hot!
Step 3: Combine the Bulk of the Ingredients for Edible Gummies
Once the sugar reaches the desired temperature, switch off the heat and place your saucepan onto a metal scale. Estimating sticky glucose can be tricky, so pour it directly into the pan until it weighs 50 grams more than before. Then, stir until it’s fully combined. Next, add the citric acid. You’ll only need a little. But this ingredient is critical to keep your gummies from getting a weird, crackly texture after a day or two. By now, your gelatin should be fully bloomed. So, just fold it into the mixture and stir everything together until it’s completely combined. That was the “hard” part. Everything from here is even easier and more fun.
Step 4: Adding the Amazing Aroma
Pour the entire mixture into the squeeze bottle. The mixture will be super sticky. So, use your silicone spatula to scrape all of it into your squeeze bottle. Then add 8-10 drops of aroma extract. This is the fun part—you can keep it simple or really make it your own. Pick your favorite fruity flavor or combine a few for a more gourmet touch! We love mixing watermelon and mint for a delicious and refreshing bite!
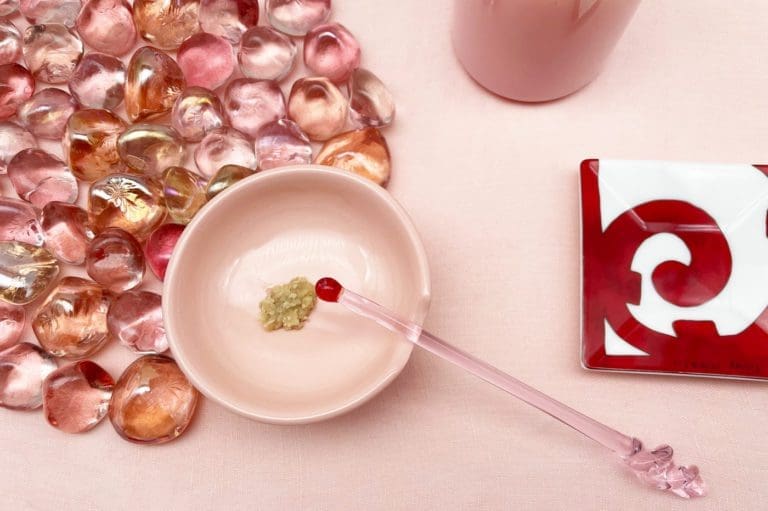
Step 5: Mix in the Magic
For other edibles, cannabutter or homemade cannabis oil are great options. But, when making gummies, a clean, high-potency oil concentrate that doesn’t have a lot of terpenes will be your best bet. That way, all you’ll taste is watermelon, not weed. To figure out how much to use, multiply the number of gummies you’re making by the milligrams you want in each gummy. With edibles, we suggest only a 5mg dose, which the cannabis nervous can always cut in half.
Math for Edible Gummies Made Easy with Our Interactive Edibles Calculator
Unfortunately, figuring out dosing takes some math. But it’s a little tricky, so we’ve done the hard part for you. Since store-bought cannabis oil requires different math than cannabis butter, we made 2 different calculators. You can use this calculator for store-bought oil or, if necessary, head over to our post with the cannabis butter calculator for those calculations. Dosing depends on the strength of the specific cannabis oil you’re using and the size of your molds. If you don’t know the exact size of your molds, it’s possible you might get the dosing slightly off—like 4 instead of 5mg. But we promise, that’s okay!
No Need to Grab Your Calculator!
Let our calculator do the work, instead. Since store-bought oil requires different math than homemade cannabis butter, we’ve made a separate cannabis butter calculator to avoid any confusion. Once you’re ready to dose your gummies, scroll up to the top of this page to the calculator. In the first box, enter the amount of milligrams of THC you want in each serving. For example, if you want each gummy to have 5mg, you’ll plug in 5. Next, you’ll enter the total number of servings you’re making. Finally, enter the amount of milligrams per milliliter in the oil you’re using and click calculate for the exact amount of oil you need to mix into your recipe. That’s it. It’s that easy.
Step 6: Time to Get Colorful
Jazz up your gummies with a splash of color. Add in food coloring until you get to a color you like. A little bit can go a long way. For a small batch, 1-3 drops could be more than enough. Then, just screw the top of the squeeze bottle on tight and make sure the tip is on it. Hold the tip on to make sure it doesn’t fly off. Finally, give it a good shake so all the ingredients are thoroughly mixed with the rest.
Step 7: Fill Your Mold
Squeeze the mixture into your mold. It’s helpful to put your mold on a plate first so it doesn’t flop around when you transfer it to the fridge. Then, squeeze enough mixture into each compartment of the mold to fill it up. During this step, it’s also critical to keep your squeeze bottles warm. That’s no issue if you’re just making a single batch. But, if you’re making a big batch of gummies with different colors and flavors, the mixture might start to set in the bottles. But that’s easy! Just fill an ice bucket or a bin with enough hot water to submerge the bottles about halfway. That’ll keep the mixture liquidy enough.
More Gummies to Go Around
If you find that the mixture fills up a few more molds than you calculated for, that’s okay! It just means that your first batch will be a little weaker than you planned. You can adjust the next time. Then, just pop them into the fridge overnight. When they come out, they’ll be perfectly set and ready for the final step.
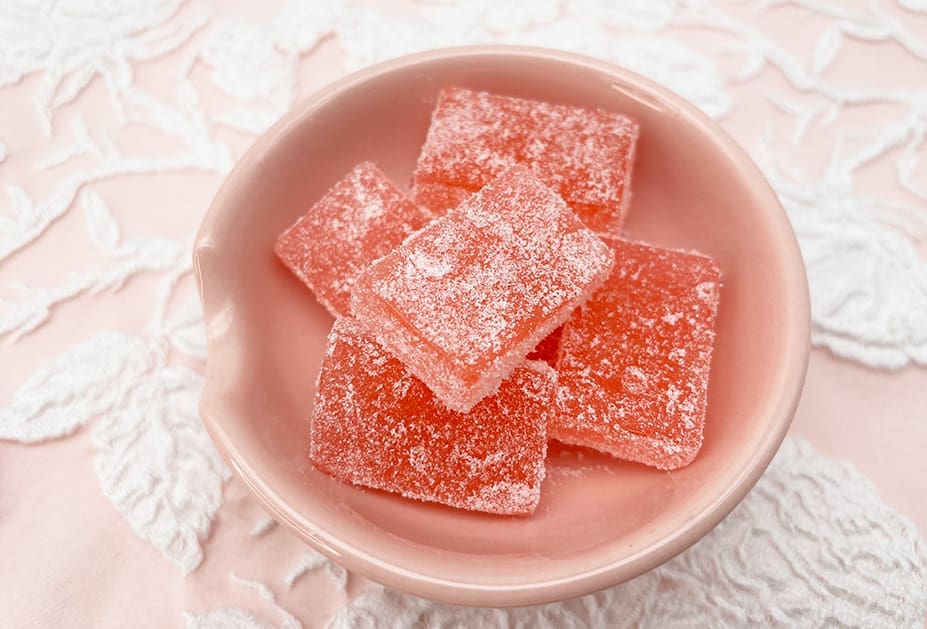
Step 8: A Little Extra Oomph
Pour a little caster sugar into a ramekin (or a very small bowl). You can use regular sugar, too, but fine sugar adds a luxurious touch. Then, flex the mold around a single gummy until it pops out. Drop it in the sugar and roll it around until it’s completely coated. Voila! You can plate them right away or just put them in a Ziploc. Or to store them for an event, put them on sheets of wax paper in airtight plastic containers. To make them last as long as possible, keep them in the fridge.
Enjoy Your Homemade Edible Gummies!
And that’s it. Really. It’s that simple. Now, you know how to make great-tasting, well-dosed gummies that are gorgeous enough for any occasion!
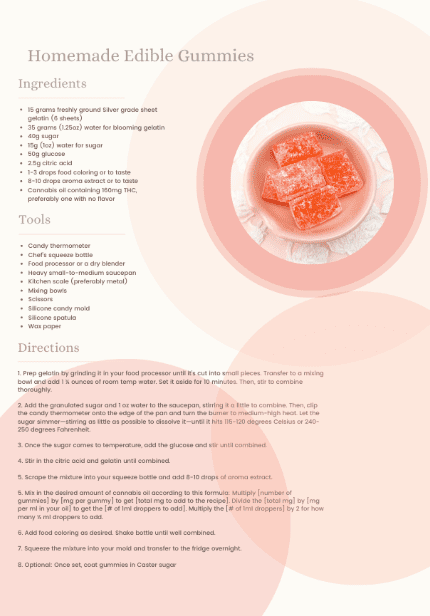
Download Our Recipe Card for Homemade Edible Gummies
For The Visual Learners
More of a visual learner? Follow along with Kristina in our step-by-step YouTube video about how to make your own edible gummies!